
Wolseley WD2 restoration
4 posters
Page 1 of 1

Wolseley WD2 restoration
![]() by Robotstar5 Wed Aug 19 2020, 12:12
by Robotstar5 Wed Aug 19 2020, 12:12
I'd been after a Wolseley engine for a while as they were made in Birmingham and got this one late last year.


Engine No.7497 dispatched to W. J. Cooper of Newport Pagnell on 4th June 1945

The plan is to strip, clean and refurb back to as close to original as I can get it.
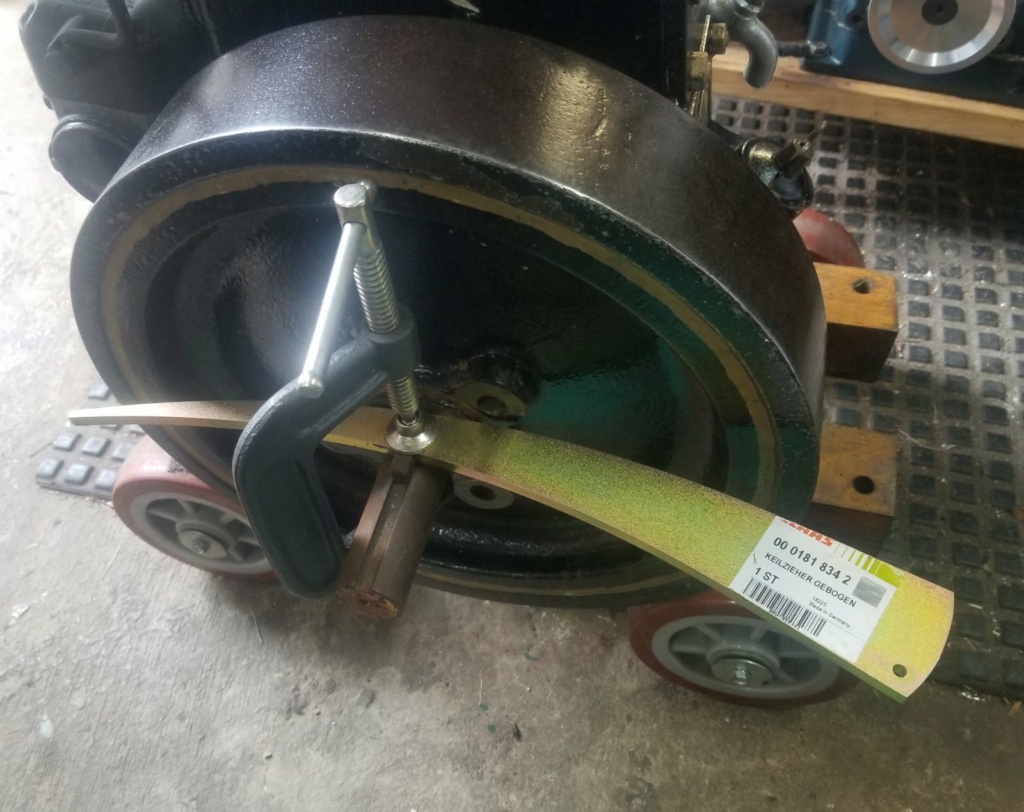
Started off by removing the flywheel and found the Gib key had been filed too narrow allowing the flywheel to turn slightly on the shaft so it was only the taper locking it in place
Took the head off and it didn't look too bad, bore OK and no play in the piston
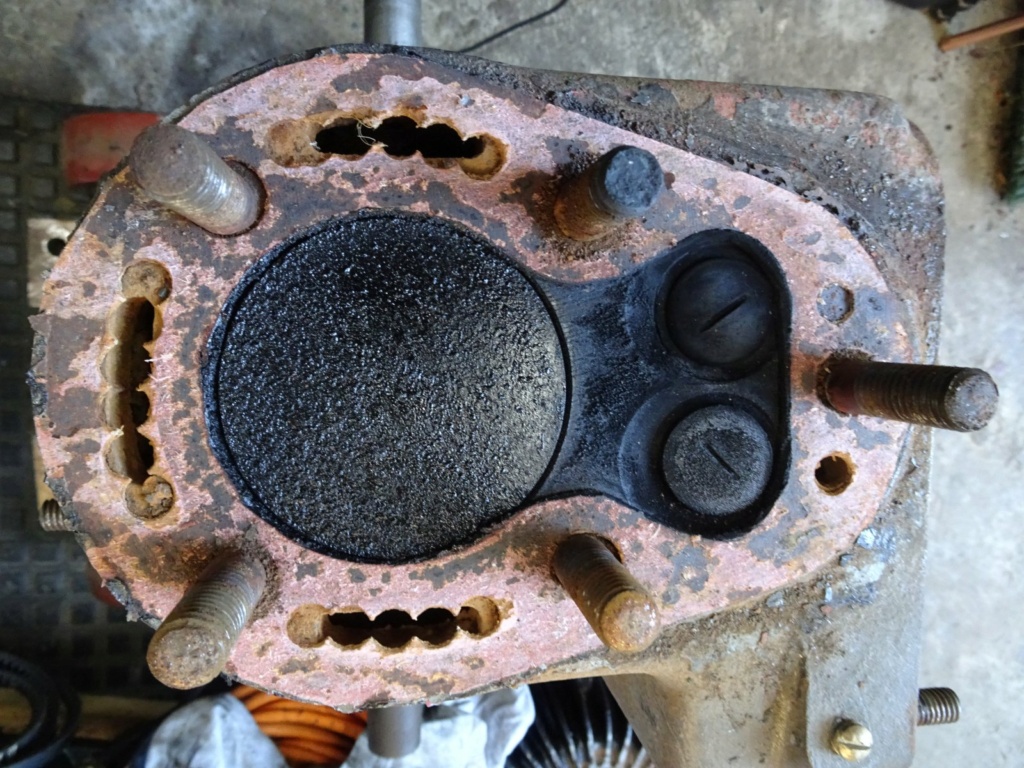
Cleaned up nicely
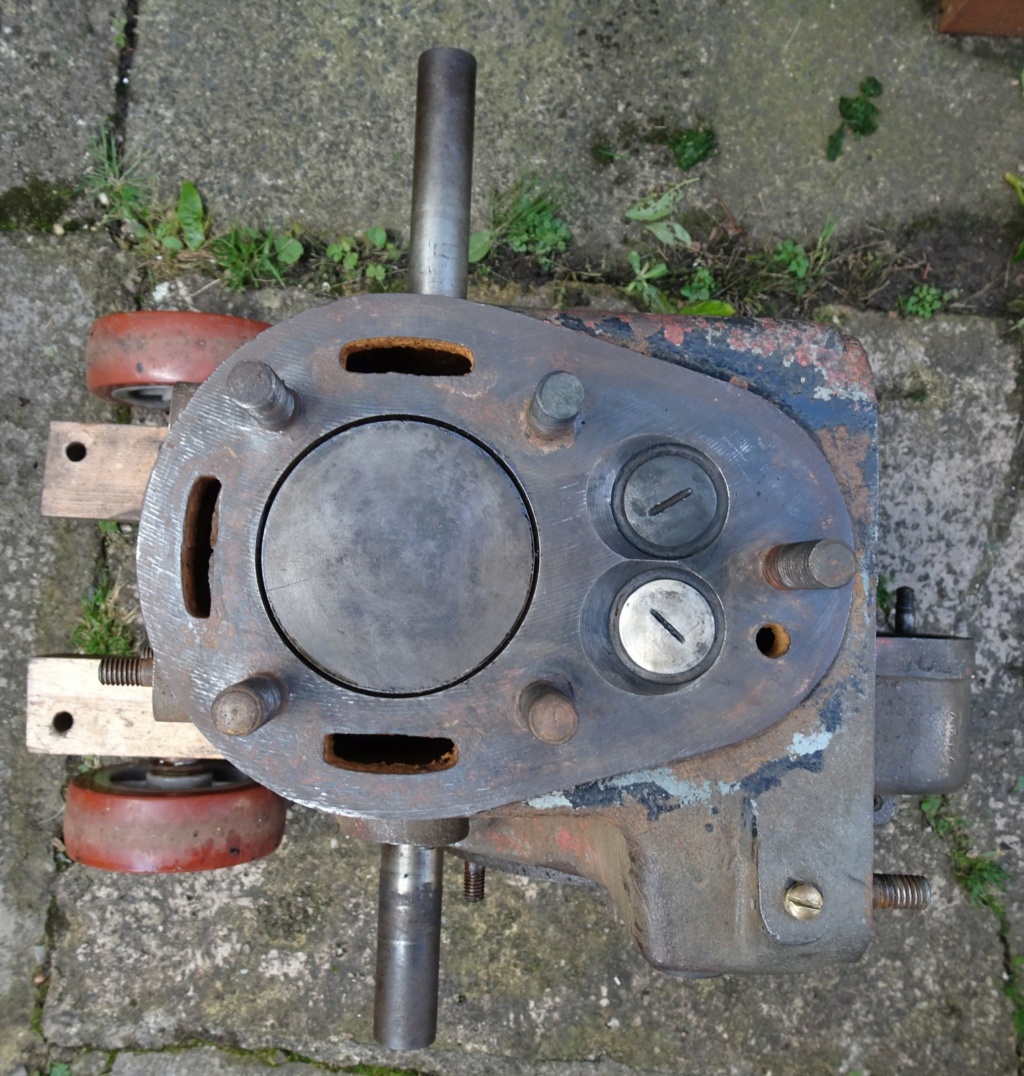
and so did the head

Started cleaning the paint off and found a large patch of body filler on the flywheel side where they are prone to frost cracking
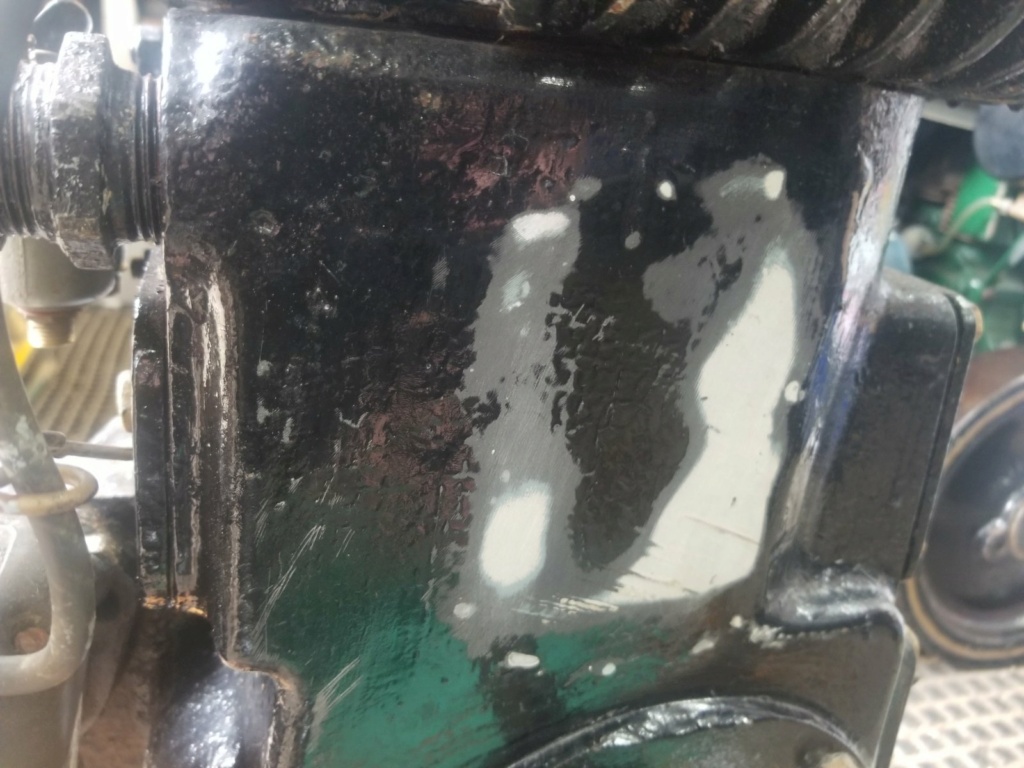
Checked inside as best I could and it looks like a repair so fingers crossed

The only casualty so far was one of the water jacket door studs sheared off

Penetrating oil, heat and patience got the remains out

Someone on another forum made me a replacement, sorted

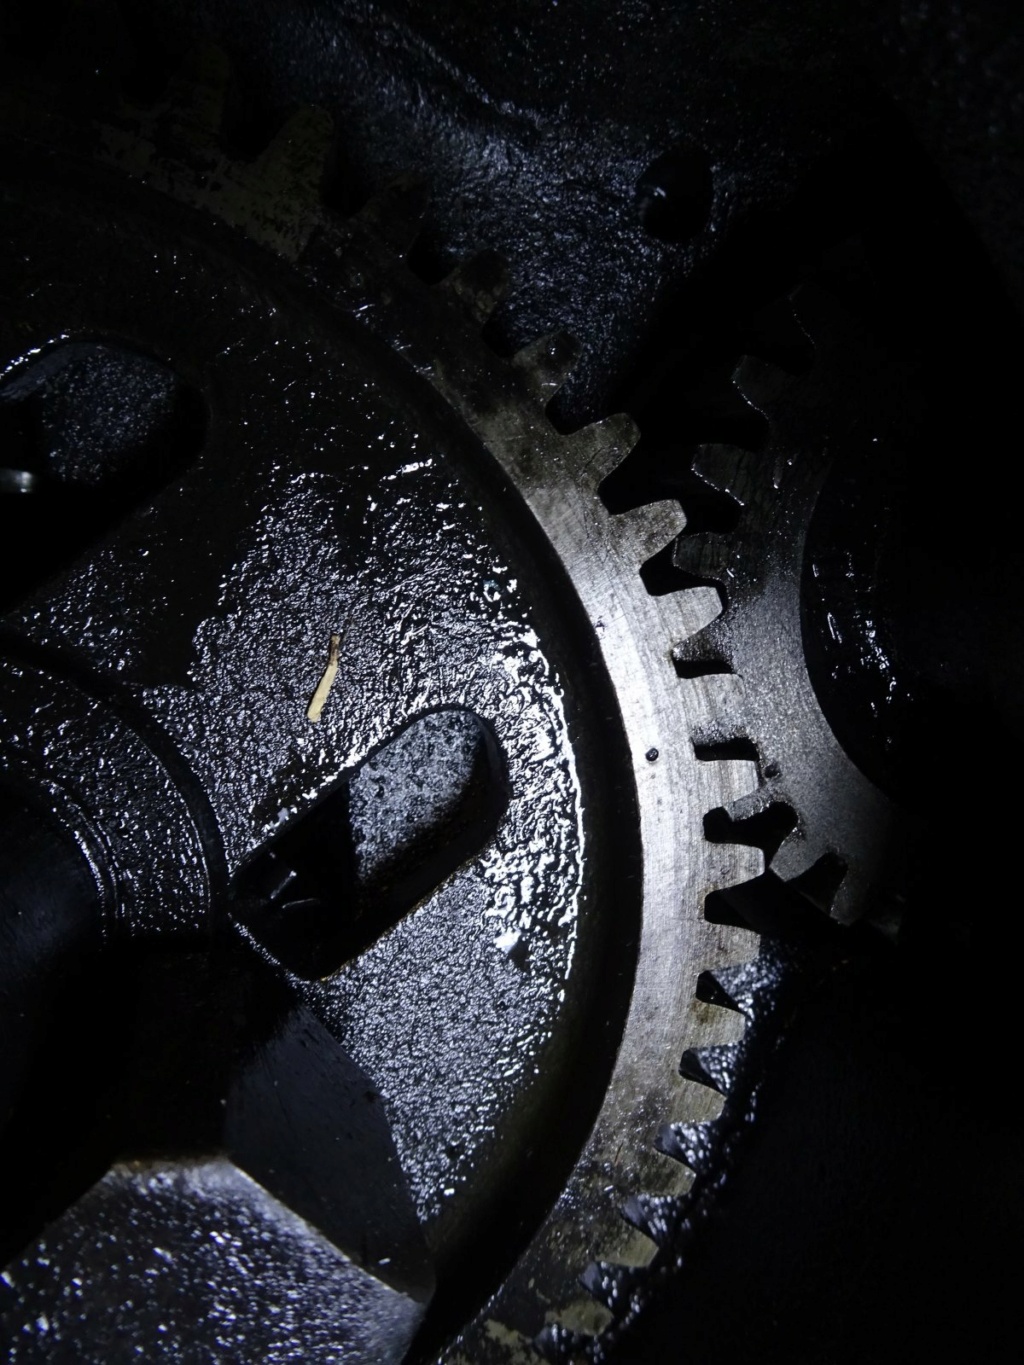
More worrying was finding a pin when I was cleaning the sump out

This was identified as a valve retainer, but mine were both present

I can only think it had been dropped in the past and instead of rummaging in the sump a replacement was fitted


Engine No.7497 dispatched to W. J. Cooper of Newport Pagnell on 4th June 1945

The plan is to strip, clean and refurb back to as close to original as I can get it.
Started off by removing the flywheel and found the Gib key had been filed too narrow allowing the flywheel to turn slightly on the shaft so it was only the taper locking it in place

Took the head off and it didn't look too bad, bore OK and no play in the piston

Cleaned up nicely

and so did the head

Started cleaning the paint off and found a large patch of body filler on the flywheel side where they are prone to frost cracking

Checked inside as best I could and it looks like a repair so fingers crossed

The only casualty so far was one of the water jacket door studs sheared off

Penetrating oil, heat and patience got the remains out

Someone on another forum made me a replacement, sorted

More worrying was finding a pin when I was cleaning the sump out

This was identified as a valve retainer, but mine were both present

I can only think it had been dropped in the past and instead of rummaging in the sump a replacement was fitted
_________________
Stuart
Robotstar5- Life Member

- Posts : 1085
Join date : 2018-09-25
Re: Wolseley WD2 restoration
![]() by Robotstar5 Wed Aug 19 2020, 13:44
by Robotstar5 Wed Aug 19 2020, 13:44
I think it had quite a history, while removing paint I found red, yellow, blue, green, grey, black and gold paint in various places!
Lots of scraping and wire wheeling, brushing etc. later

I did find an interesting casting mark
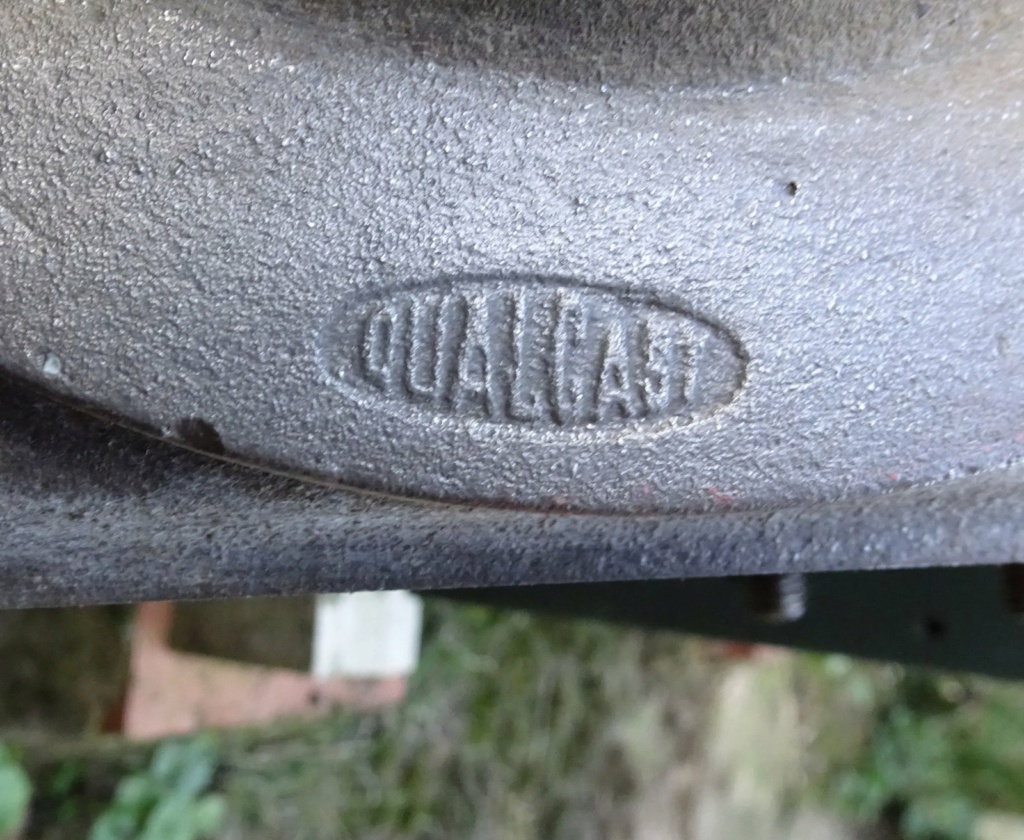
I did my apprenticeship in an Iron foundry that was part of the Qualcast group
A couple of coats of red oxide primer later

Followed by a couple of coats of enamel

I decided to build a new trolley while the engine was light enough to move around
Some nice American ash cut and glued together
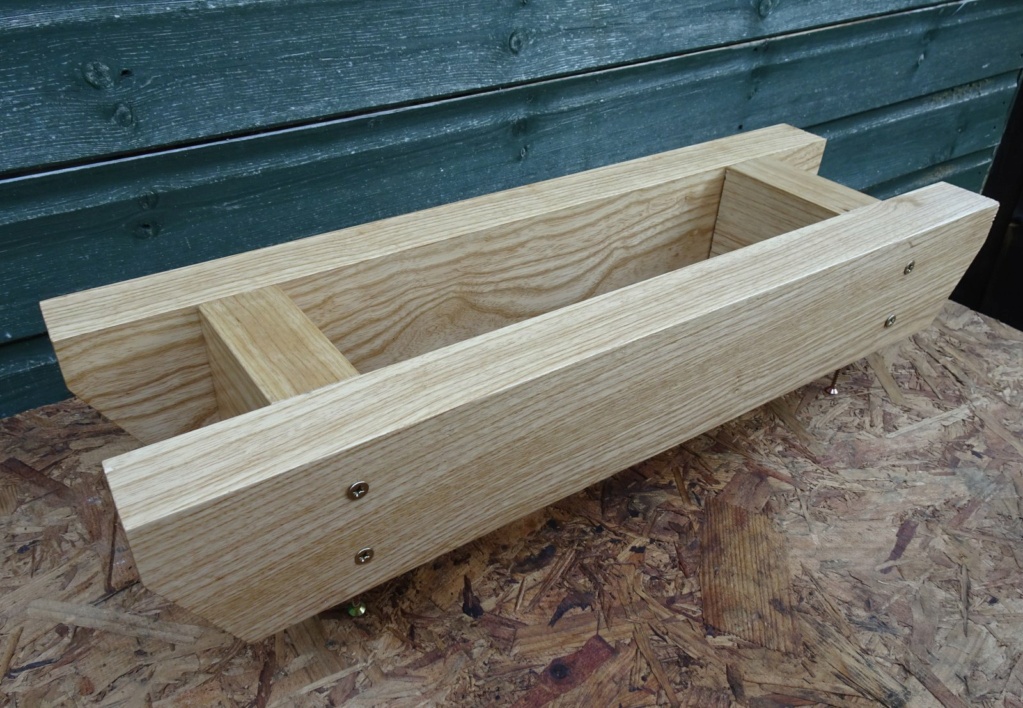
Axles made

Painted and fitted to the trolley

Looks nice sealed with a couple of coats of Osmo Polywax and ready for the engine

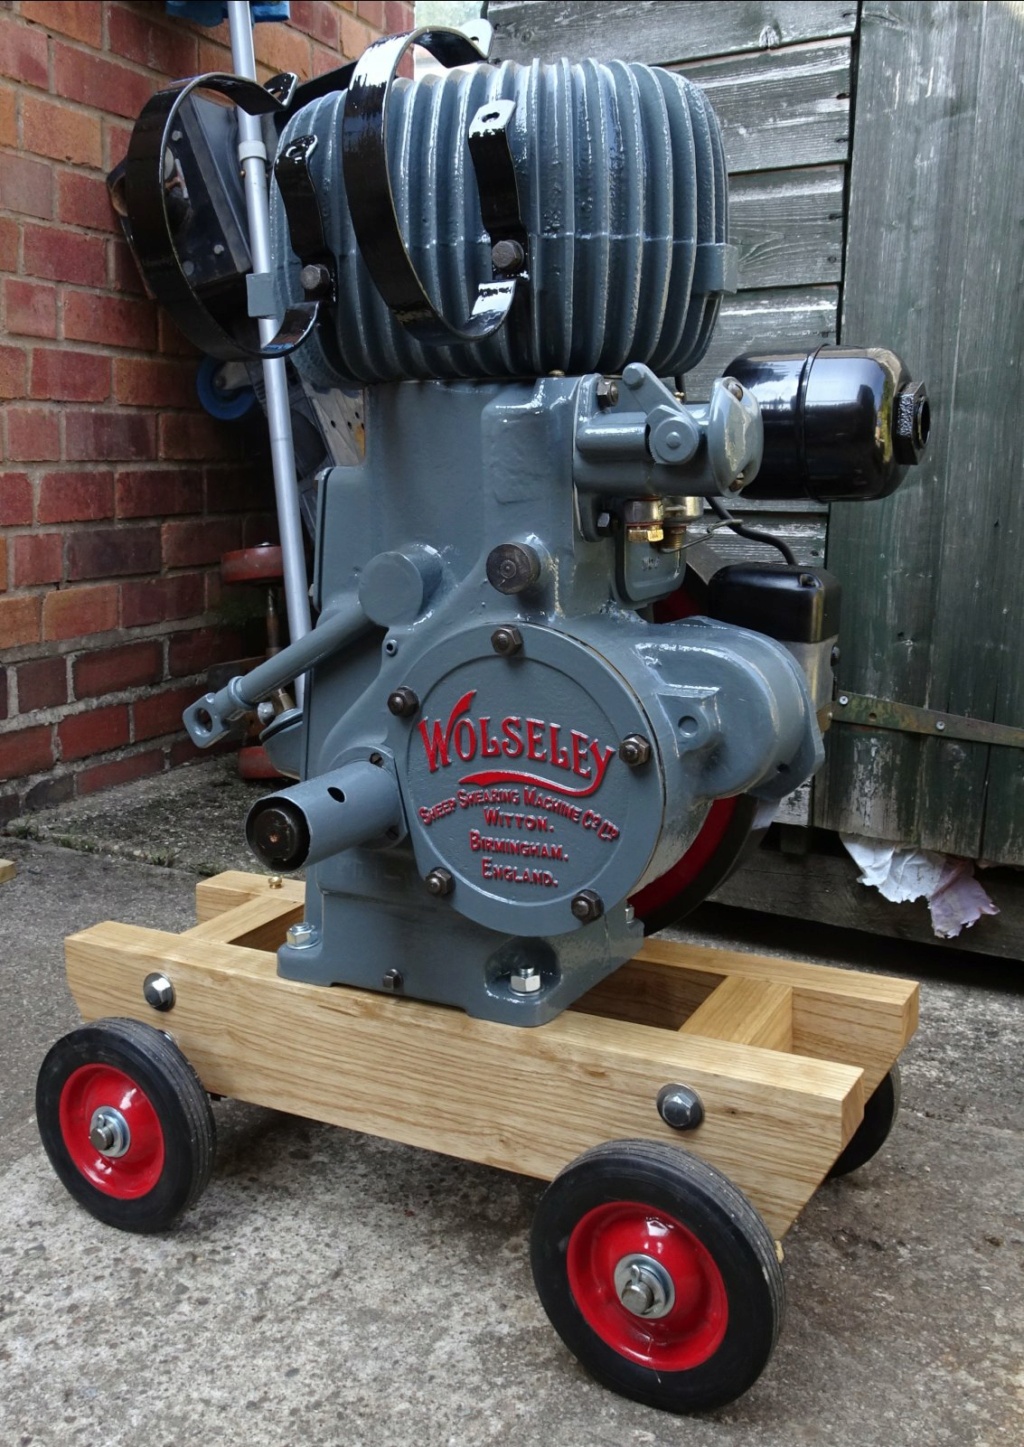
Engine on it's new home

The black paint was really "gummy" and difficult to remove

After a lot of wire brushing I admitted defeat and had it media blasted

Then a couple of coats of primer

Followed by a couple of coats of enamel, looks a lot better now

Lots of scraping and wire wheeling, brushing etc. later

I did find an interesting casting mark

I did my apprenticeship in an Iron foundry that was part of the Qualcast group
A couple of coats of red oxide primer later

Followed by a couple of coats of enamel

I decided to build a new trolley while the engine was light enough to move around
Some nice American ash cut and glued together

Axles made

Painted and fitted to the trolley

Looks nice sealed with a couple of coats of Osmo Polywax and ready for the engine

Engine on it's new home

The black paint was really "gummy" and difficult to remove

After a lot of wire brushing I admitted defeat and had it media blasted

Then a couple of coats of primer

Followed by a couple of coats of enamel, looks a lot better now

Last edited by Robotstar5 on Wed Aug 19 2020, 14:41; edited 1 time in total
_________________
Stuart
Robotstar5- Life Member
- Posts : 1085
Join date : 2018-09-25
Re: Wolseley WD2 restoration
![]() by Robotstar5 Wed Aug 19 2020, 13:59
by Robotstar5 Wed Aug 19 2020, 13:59
The water drain tap didn't look right

So I got an original drain plug/bung

Covers cleaned and masked up ready for painting
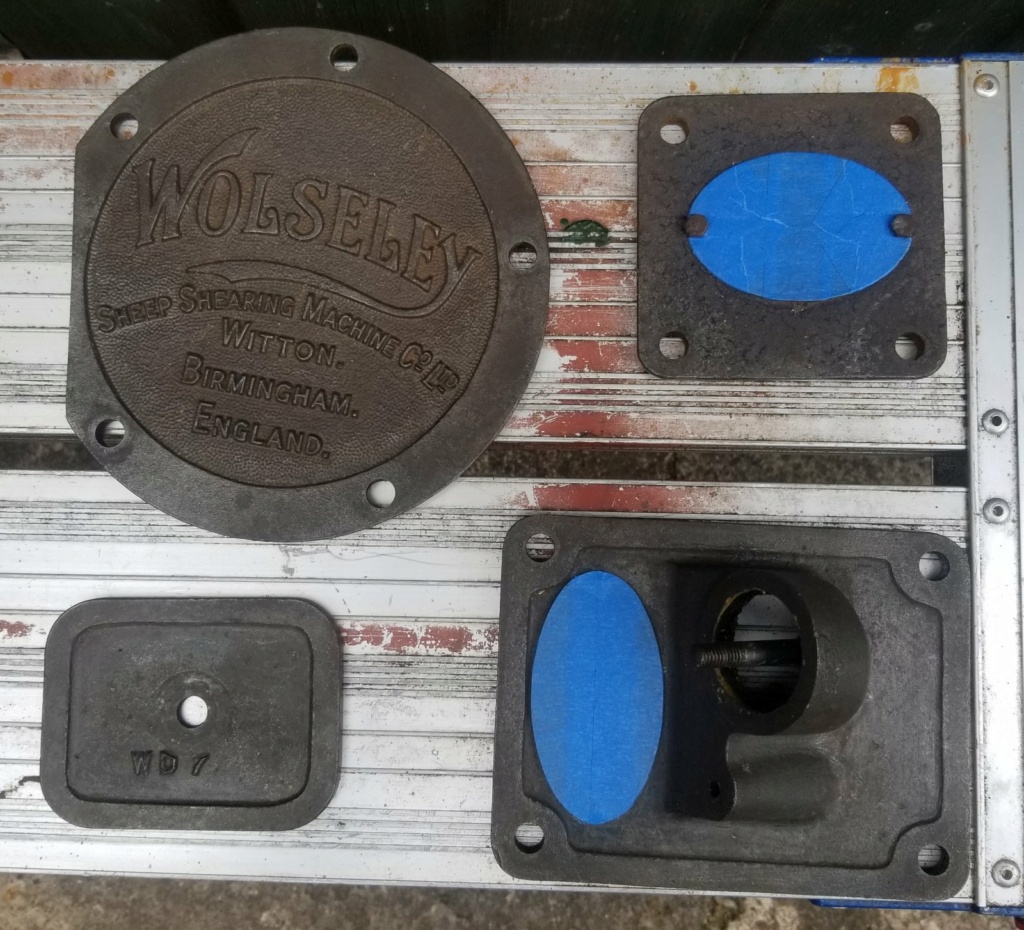
Lots of nice bits ready to go back on

Nice details on this cover

So the best part of an hour later using a tiny paint brush

Flywheel cleaned

Flywheel and pulley painted Red to match the wheels

The price of Gib keys has gone up 25% in a year!, after a couple of hours of blueing and filing I fitted the flywheel

_________________
Stuart
Robotstar5- Life Member
- Posts : 1085
Join date : 2018-09-25
Re: Wolseley WD2 restoration
![]() by Robotstar5 Wed Aug 19 2020, 14:10
by Robotstar5 Wed Aug 19 2020, 14:10
It's a Wolseley again 

Made some gaskets and started fitting the covers

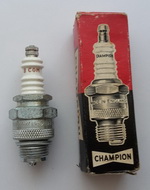
It's nice to see good old fashioned points these days, and made in England as well

The timing was out by one tooth when I took it apart
So I timed it to the manual and fitted the magneto

New HT lead and terminal

Painted the new silencer and polished the float chamber top

Just waiting for the tank
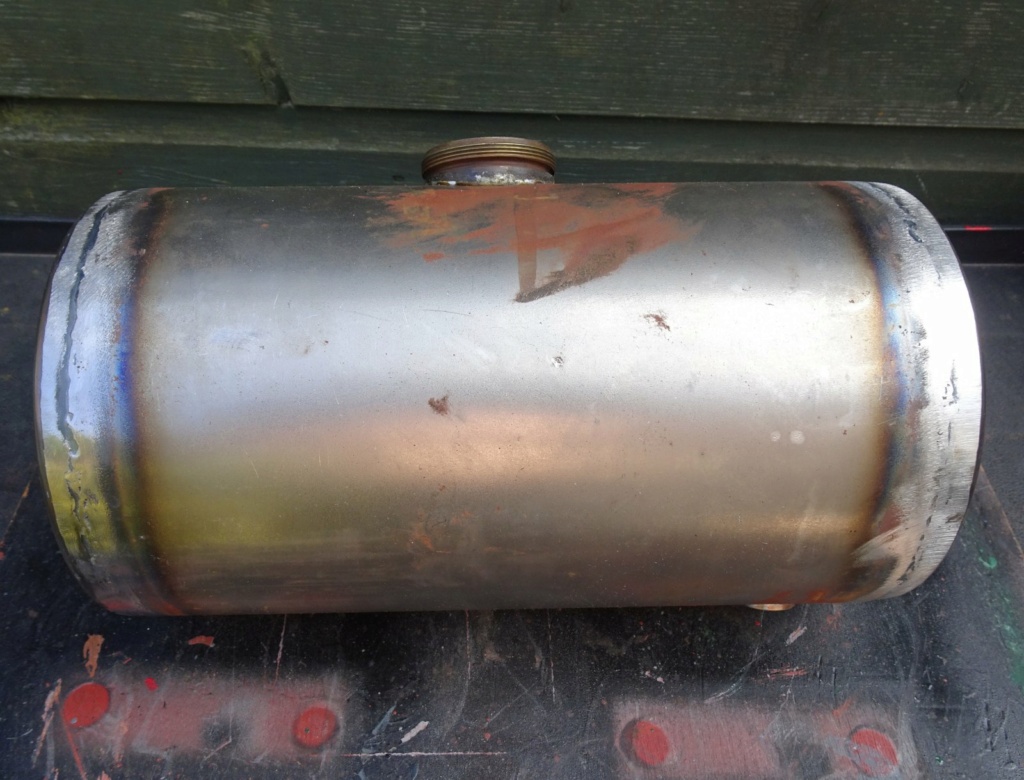
The original tank had seen better days

So I bought a new one
Needed some body filler
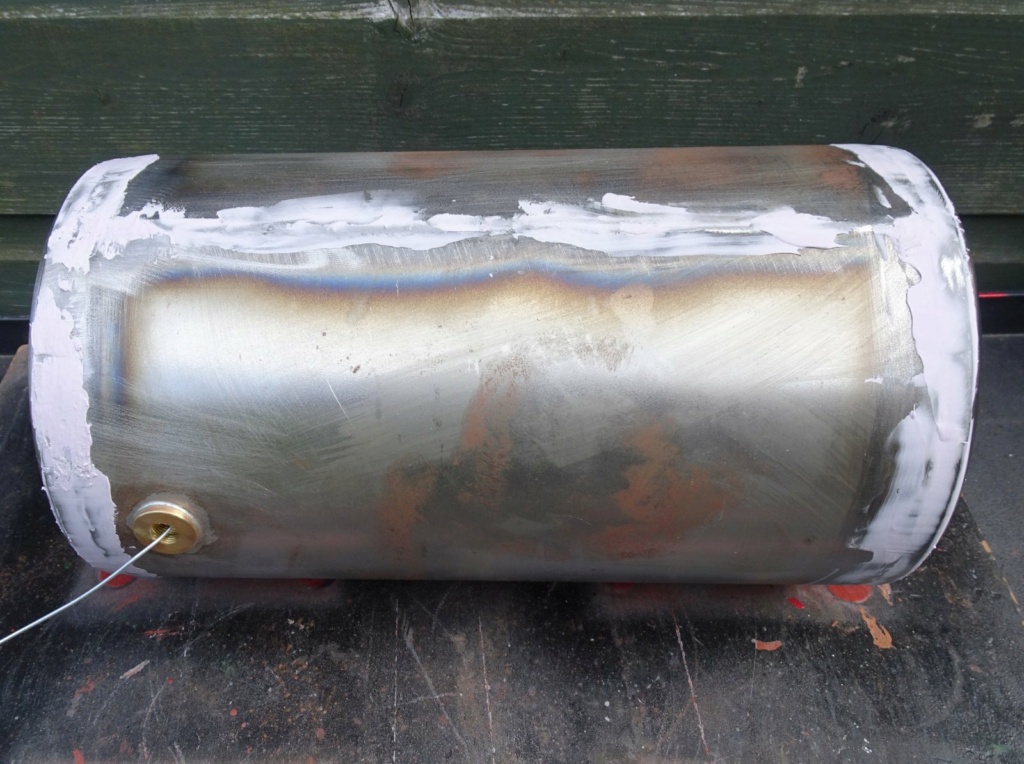
and prepping for paint

A couple of pics of the finished engine


and a short clip of it's first run

Made some gaskets and started fitting the covers

It's nice to see good old fashioned points these days, and made in England as well

The timing was out by one tooth when I took it apart

So I timed it to the manual and fitted the magneto

New HT lead and terminal

Painted the new silencer and polished the float chamber top

Just waiting for the tank

The original tank had seen better days

So I bought a new one

Needed some body filler

and prepping for paint

A couple of pics of the finished engine


and a short clip of it's first run
_________________
Stuart
Robotstar5- Life Member
- Posts : 1085
Join date : 2018-09-25

Appletop- Life Member
- Posts : 1479
Join date : 2010-01-02
Age : 56
Location : Just outside Diss
Re: Wolseley WD2 restoration
![]() by Woodsman Wed Aug 19 2020, 14:39
by Woodsman Wed Aug 19 2020, 14:39
Appletop wrote:Nice one Stuart!


_________________
Regards Paul
Tha can alus tell a Yorkshireman - but tha can't tell him much.

Woodsman- Admin
- Posts : 2689
Join date : 2014-08-24
Age : 73
Location : God's own county
Re: Wolseley WD2 restoration
![]() by Foden Wed Aug 19 2020, 16:03
by Foden Wed Aug 19 2020, 16:03
Made a good job of that, I actually sold my WD2/Fullwood dairy set about a month ago now as it hadn't been rallied for a couple of years. That was the first engine that I rebuilt in our kitchen around ten years ago, there have been many more since though!  I still have a spare head for one in the garage somewhere, it's painted red which a lot appear to have been.
Pete.
Pete.
_________________
Too much to do, and so little time!!

Foden- Life Member
- Posts : 1410
Join date : 2009-11-04
Age : 73
Location : North Midlands
» Wolseley WD2, first restoration
» wolsley wd
» Wolseley WD8 Long Period Restoration begins!!
» My Wolseley WD2
» Wolseley WD8
» wolsley wd
» Wolseley WD8 Long Period Restoration begins!!
» My Wolseley WD2
» Wolseley WD8
Page 1 of 1
Permissions in this forum:
You cannot reply to topics in this forum|
|
|